Introduction
SignalWire Call Widget
The Call Widget is a Click-to-Call style JavaScript widget which uses the SignalWire SDK and the SignalWire C2C service to allow you to embed calls in your website.
🌟 New V3 Beta Available!
We've released a new version (V3) of the Call Widget with a completely revamped API, better UI, and support for incoming calls. Skip to V3 Documentation
V2 Documentation
Installation
Import the widget from the CDN:
<script src="https://cdn.jsdelivr.net/npm/@niravcodes/call-widget/dist/c2c-widget-full.umd.min.js"></script>
or install the widget using npm:
npm install @niravcodes/call-widget
Usage
<style>
  /* This class will be removed from button when the widget fully loads. */
  .demo-button-disabled {
    opacity: 0.7;
    pointer-events: none;
  }
</style>

<!-- Button that triggers the call, wherever in the html -->
<button id="callButton" class="demo-button-disabled">Call</button>

<!-- end of body -->
<c2c-widget
  buttonId="callButton"
  token="<c2c_token or embeds_token>"
  callDetails='{"destination":"/private/demo-1","supportsVideo":false,"supportsAudio":true}'
  collectUserDetails="false"
  survey='{"title":"Please take this survey", "description":"We would love to hear your thoughts. Would you like to take a survey?","href":"https://www.google.com"}'
  userVariables='{"user_type":"guest"}'
></c2c-widget>

<script src="https://cdn.jsdelivr.net/npm/@niravcodes/call-widget/dist/c2c-widget-full.umd.min.js"></script>
Parameters
| Parameter | Type | Required | Default | Description |
|---|---|---|---|---|
| buttonId | string | Yes | - | ID for Button that triggers call |
| token | string | Yes | - | Authentication token (c2c or embeds) |
| callDetails | object | Yes | - | Call configuration JSON |
| collectUserDetails | boolean | No | true | Show user details form boolean |
| survey | object | No | not shown | Post-call survey config JSON |
| userVariables | object | No | Custom call variables JSON (arbitrary JSON key:value pairs) |
buttonId
The buttonId attribute is used to specify the ID of the HTML button element that will trigger the call.
If the button is not found, the widget will wait for the button to be created. (The button doesn't have to exist in the DOM at the time of widget initialization.)
You can use the class .demo-button-disabled to disable the button while the widget is loading. The widget will remove that particular
class once it loads.
<style>
  /* This class will be removed from button when the widget loads.
   */
  .demo-button-disabled {
    opacity: 0.7;
    pointer-events: none;
  }
</style>
token
Authentication token for SignalWire services (either the c2c token from the dashboard, or the embed token).
Using C2C token is getting recommended for most cases. You can get the C2C token from the SignalWire Space dashboard. You can get the embed token using the Embeds Token API.
You can also use any token received from the Call Fabric authentication, assuming it has the necessary permissions to the address.
callDetails
The callDetails object is used to configure the call including destination and media support:
destination: string - Call destinationsupportsVideo: boolean - Enable/disable videosupportsAudio: boolean - Enable/disable audio
Strict JSON format is required for this attribute.
collectUserDetails
Whether to show a form collecting user details before starting call.
survey
The survey object is used to configure the post-call survey:
title: string - Survey modal title (optional, defaults to "Would you like to take a survey?")description: string - Survey description text (optional, defaults to "We would love to hear your thoughts. Would you like to take a survey? It only takes 2 minutes.")href: string - URL to survey (required)
Don't set this attribute if you don't want a survey to be shown.
Strict JSON format is required for this attribute.
userVariables
Custom variables to attach to the call session. Can be any JSON key:value pair. The following will be overridden by the widget, however:
callOriginHref - the URL of the page where the widget is hosted
userName - the name of the user (if they input it in the form)
userEmail - the email of the user (if they input it in the form)
userPhone - the phone number of the user (if they input it in the form)
Strict JSON format is required for this attribute.
Events
beforecall
This event is triggered when the call is about to start.
const widget = document.querySelector("c2c-widget");
widget.addEventListener("beforecall", () => {
  console.log("beforecall");
});
SignalWire Call Widget V3 (Beta)
A completely revamped version of the Call Widget with a modern API, enhanced UI, and support for incoming calls. V3 offers a more streamlined integration experience and additional features not available in V2.
Key improvements over V2:
- Simpler, more intuitive HTML attribute-based configuration
- Built-in support for incoming calls
- Enhanced UI with multiple window modes
- Better debugging options
- More flexible audio codec configuration
Installation
NPM
npm install @niravcodes/call-widget
CDN (jsDelivr)
<script src="https://cdn.jsdelivr.net/npm/@niravcodes/call-widget/dist/call-widget-full.min.js"></script>
Quick Start
<button id="myCallButton">Start Call</button>

<call-widget
  button-id="myCallButton"
  token="your_signalwire_token"
  destination="/private/demo"
  support-audio="true"
  support-video="true"
></call-widget>
Attributes Reference
| Attribute | Required | Default | Description |
|---|---|---|---|
| token | Yes | - | SignalWire authentication token |
| destination | Yes | - | Call destination path |
| button-id | Yes | - | ID of the button that triggers the call |
| support-audio | No | false | Enable audio support |
| support-video | No | false | Enable video support |
| window-mode | No | "video+transcript" | UI mode for the call window |
| log-level | No | "error" | Logging verbosity level |
| host | No | - | SignalWire server host |
| receive-calls | No | false | Enable incoming call reception |
| auto-answer | No | false | Automatically answer incoming calls without prompt |
| audio-codec | No | - | Comma-separated list of preferred audio codecs |
| user-variables | No | - | Custom variables passed as JSON string |
| debug-ws-traffic | No | false | Enable WebSocket traffic debugging |
Detailed Attribute Description
Required Attributes
token
Your SignalWire authentication token. This is required for establishing connections.
Example:
<call-widget token="your_signalwire_token"></call-widget>
destination
The destination path for the call. Usually in the format "/private/room-name".
Example:
<call-widget destination="/private/demo-room"></call-widget>
Optional Attributes
window-mode
Controls the layout and features of the call window. Available options:
video+transcript: Video call with transcriptvideo: Video-only interfaceaudio+transcript: Audio call with transcript
Example:
<call-widget window-mode="video+transcript"></call-widget>
log-level
Sets the logging verbosity. Available options:
debug: Most verbose, includes all logsinfo: General information and important eventswarn: Warnings and non-critical issueserror: Only error messages (default)
Example:
<call-widget log-level="debug"></call-widget>
user-variables
Custom variables passed as a JSON string. All values must be strings.
Example:
<call-widget
  user-variables='{"customerName": "John", "accountId": "123"}'
></call-widget>
audio-codec
Comma-separated list of preferred audio codecs.
Example:
<call-widget audio-codec="opus,PCMU"></call-widget>
Usage Examples
Basic Audio-Only Call Widget
<button id="audioCall">Start Audio Call</button>

<call-widget
  button-id="audioCall"
  token="your_token"
  destination="/private/audio-room"
  support-audio="true"
  support-video="false"
  window-mode="audio+transcript"
></call-widget>
Video Call with Transcription
<button id="videoCall">Start Video Call</button>

<call-widget
  button-id="videoCall"
  token="your_token"
  destination="/private/video-room"
  support-audio="true"
  support-video="true"
  window-mode="video+transcript"
  log-level="info"
></call-widget>
Call Center Agent Setup
<button id="agentConsole">Open Agent Console</button>

<call-widget
  button-id="agentConsole"
  token="your_token"
  destination="/private/agent-room"
  support-audio="true"
  support-video="true"
  receive-calls="true"
  auto-answer="false"
  window-mode="video+transcript"
  user-variables='{"agentId": "agent123", "department": "support"}'
></call-widget>
Notes and best practices
-
Token Security: Never hardcode your SignalWire token in the HTML. Instead, fetch it dynamically from your server. However, you're free to use click2call tokens (
c2c_...) statically in HTML. -
Button Placement: The trigger button can be styled and positioned anywhere in your layout. Just ensure the
button-idmatches. -
window-mode vs support-audio and support-video:
window-modecontrols the layout UI of the widget. This is purely cosmetic.support-audioandsupport-videocontrols the features of the widget. This decides if webcam and/or microphone is used.
Handling Incoming Calls
V3 introduces robust support for incoming calls, making it suitable for call center and customer service applications.
Setting Up Incoming Calls
To enable incoming calls, set the receive-calls attribute to "true". You can also configure automatic answer behavior using auto-answer.
<call-widget
  button-id="agentConsole"
  token="your_token"
  destination="/private/agent-room"
  receive-calls="true"
  auto-answer="false"
  window-mode="video+transcript"
></call-widget>
Incoming Call Behavior
When receive-calls is enabled:
- The widget listens for incoming calls to the specified destination
- When a call arrives:
- If
auto-answer="true": The call is automatically answered - If
auto-answer="false": A notification appears allowing the user to accept or decline
- If
- The call window opens in the specified
window-modeonce the call is accepted
Best Practices for Incoming Calls
- User Experience:
- Use
auto-answer="false"for agent interfaces where call screening is needed - Use
auto-answer="true"for automated services or IVR systems
- Use
- Window Mode: For agent interfaces,
video+transcriptmode provides the most comprehensive call handling experience - Audio/Video Support: Configure
support-audioandsupport-videobased on your use case:<call-widget
receive-calls="true"
support-audio="true"
support-video="true"
window-mode="video+transcript"
></call-widget>
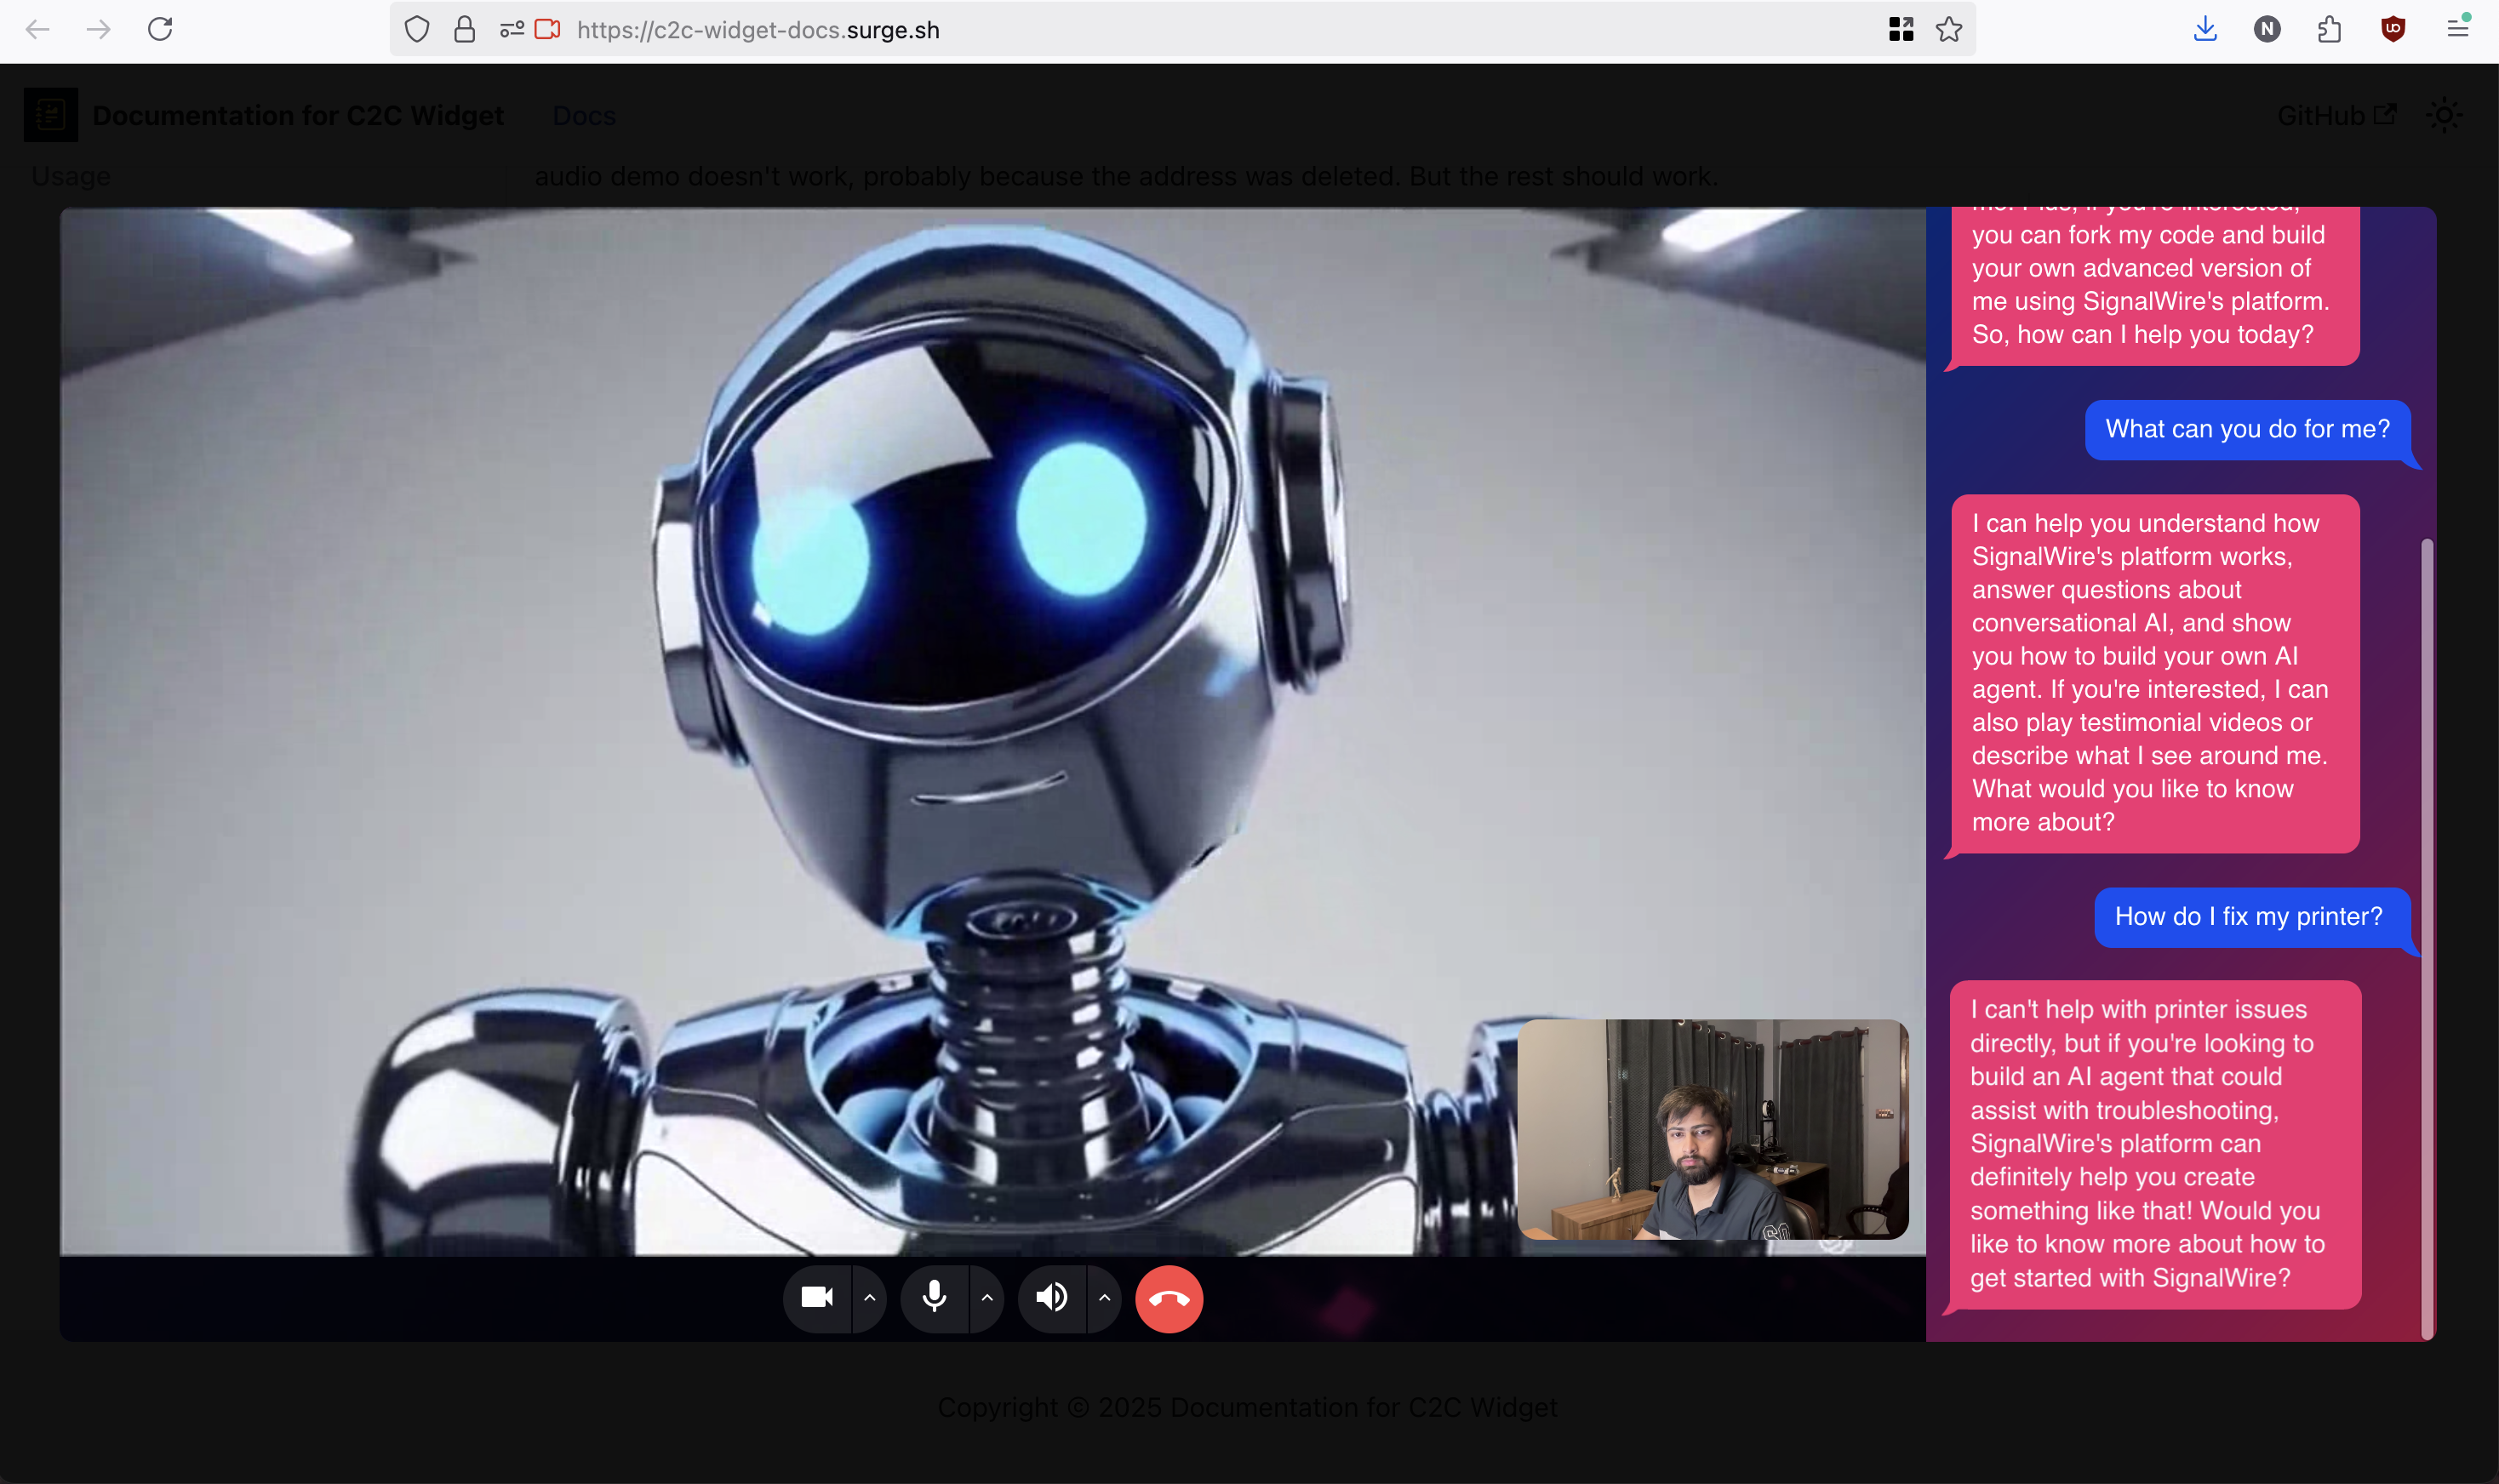
Demo
The buttons below are created by the react wrapper for the widget.
The react wrapper is used as follows:
<C2CWidget
  destination="/private/demo-1"
  supportsVideo={true}
  supportsAudio={true}
  token={token}
>Call with Video</C2CWidget>